3D Canvas Tutorial - Pipe Builder Plug-In
by Brentton Smith

Copyright © 2004

Overview

This Plug-In was written by Paul Gausden and is now an integral part of 3D Canvas Plus and Pro. It was part of a complete set of tools written by Paul Gausden: these tools or plug-ins are available from his website under 3D Canvas downloads.

Just make sure you download and install the right set applicable for your version of 3D Canvas. As I'm writing this, 3D Canvas in now at version 6.0.5.5.  Paul's website is at:  http://www31.brinkster.com/decapod/

Paul has given 3D Canvas a whole new meaning in creating models, as his designed Plug-Ins will save you hours in work time compared to other programs around. Whilst you're at his site why not consider a donation and buy him a beer for his hard work on what is basically a free set of tools.

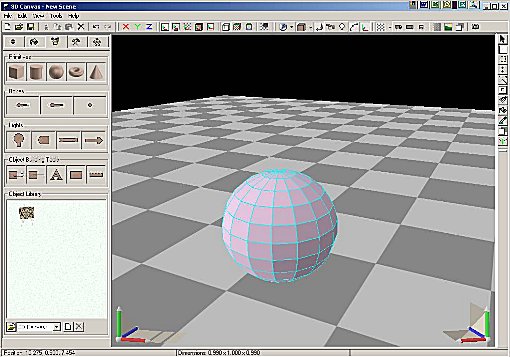
Of the many and various plug-ins made by Paul Gausden this is by far one of my favourites simply because of its versatility and applications for model building in general. Its very easy to use and because it uses the edge of a selected object, you can make any shape of piping for any type of railing seen within the railway world.

If fact I don’t know how 3DC users kept sane before it came along as usually it meant using lots of four sided, creased and scaled cubes joined together or using a high poly cylinder with an lots of extra latitudinal edging and bending the sucker in the right shape. Prozac anyone ?

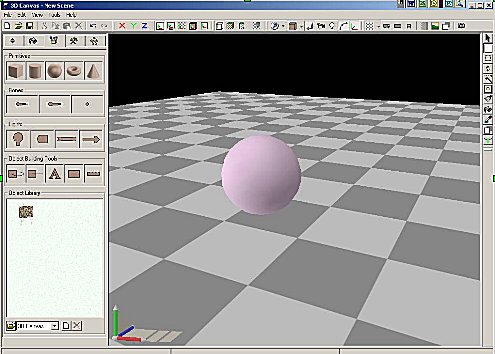
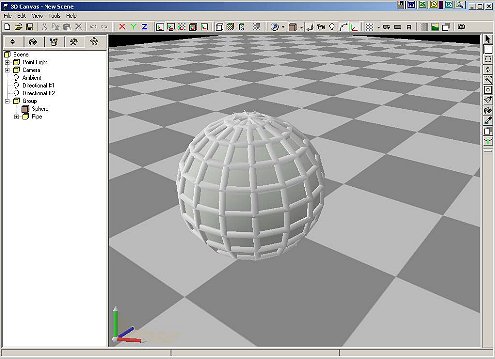
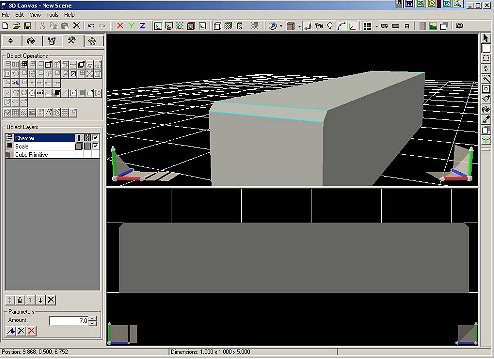
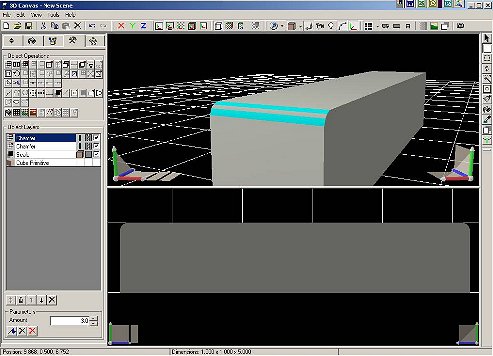
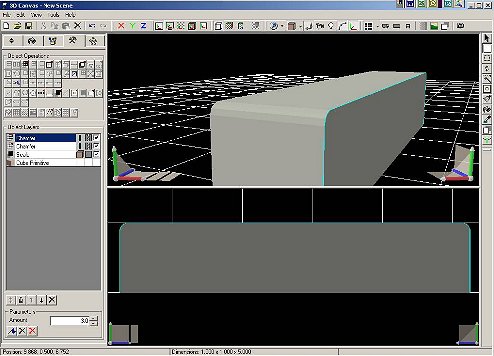
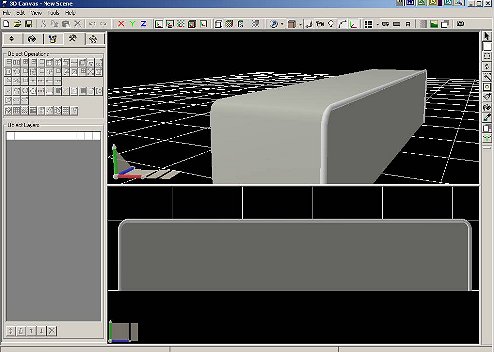
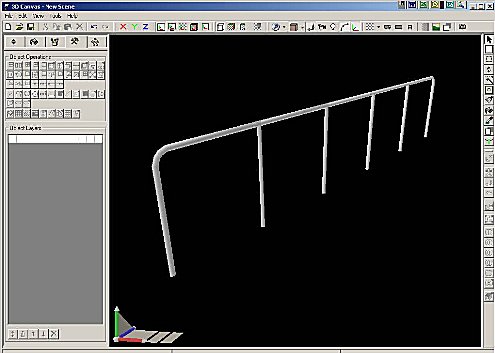
Firstly though let's have some fun and see what it can do !


How The Plug-In Works

Go to your component panel and drag and drop a sphere into your scene.

Hold Control and select F. We are now in face/point/edge selection mode. Go and right-click on one of the sphere’s edges and then navigate to select All | Edges to get the screen at left.

Here is our sphere with all edges highlighted and selected.

Go to Tools | Plug-Ins | Pipe Builder to get your first fill-in format screen. It will default to 6 sides, but we can usually achieve than same result with just 4 sides, so change this to 4 at the moment.

Click OK.

You get the tube diameter screen which is set to 0.05 as a default. We’ll leave this the same at the moment.

Click OK.

You will get the following after a few moments.

Here is our sphere, now enclosed with piping..Cool!

The pipe builder will automatically create a child group under the object’s parent group in your hierarchy. Click on the sphere object on your hierarchy panel and delete it.
We now have a sphere made of pipes. Now select your sphere by clicking on it and then optimise your object.

This will correct any geometrical inconsistencies with our new object.

Right click on the pipe sphere and select Properties. Move the Automatic Creasing slider all the way to the left so that the object will remember these creasing settings. Creasing basically gets rid of the visible seams or edging between faces.

Here's our little friend with his family - basically just cloned copies of the original. And who says cloning technology isn’t handy !...at least in this instance.

Okay enough of the fun stuff and down to business. The main point of the above illustrated exercise is to show you how versatile this plug-in is and how it can be used.


A Practical Use for the Pipe-Builder Plug-in

Now clear the slate for a fresh scene.

Drag and drop a cube primitive onto your work area, right click on it Scale | To Size  and put 5.0 in the Z box. We now have a cube that has the dimensions X 1.0, Y 1.0 and Z 5.0.

Here we have our scaled cube. Now we are going to create continuous piping that will bend from the horizontal to the vertical at each end along the object’s Z axis.

Hold Control and hit F to enter face selection mode.

Control click the top edges on both the near and far X axis to select them both.

Now go to your operations panel and right click on the chamfer operation.

Change the default chamfer to seven at the moment and then left click to execute the operation.

The picture at left shows our chamfered or beveled edges on either side of our object’s Z axis. While these new faces are still selected, you can scale them larger or smaller by holdingShift and using the edit control panel (Dark section next to the Y Edit Control Axis).

Now we are going to give our railing a more rounded appearance by applying another chamfer operation on each of our new faces. Ctrl select the edges of your newly created faces.

Right click once again on the chamfer operation button and this time change the setting to 3.0. Apply the operation.

We now have an additional four new faces created giving a nice rounded edge.

Hold Ctrl and select F to enter face selection mode, Now ctrl click all of the edges along the object's X axis so that they are all selected.

Here is our scaled cube now with the edge selected (Blue highlights).

Now go to Tools | Plug-Ins | Pipe Builder.

Four sided pipe, with a diameter of .05 to make it nice and thick (and easier to see for the tutorial !)

Go to your hierarchy and delete the cube (if you’ve finished with it, otherwise save it to your object library - it may come in handy again ). The above method is very quick and easy and you’ve just created some railing in under 5 mins !

Optimise your rail and then crease it fully.

Here is our railing and its only 72 polys ! If you want better definition of railing that can pass close scrutiny within MSTS you can also use 6 sides for your piping.

Here's the same railing, but with stanchions added. I just used the same cube as before and just divided the top and bottom edges and joined the new points together to create new edges between them. Optimized and creased its only 328 polys with high detail, created very fast and you get to keep your hair !

Note: sometimes the plug-in builds a pipe inside out - a simple invert operation on the object fixes this.


Summary

This has been just a quick introduction for people new to 3D Canvas and are looking to fastrack their understanding of an often used plug-in tool.

If you have any further questions or would like to add to the above in some way I can be contacted at the moment on baesmith@optusnet.com.au

No animals were used in the testing of this plug-in and this tutorial is GE free.