Inventive Uses For The Pipe Builder Plugin
by Paul "Decapod" Gausden

Copyright © 2004

1. Locomotive Spring Hangers

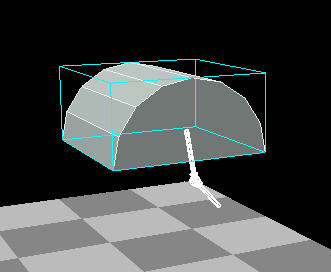
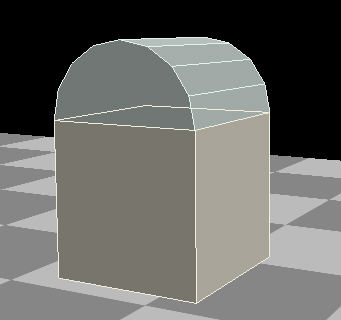
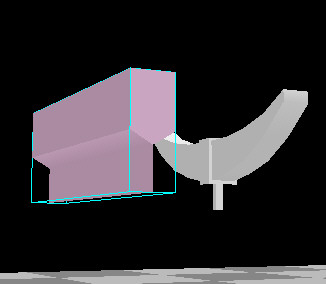
  • Add a cube to the scene.
  • Divide the two lower edges into two (max/min Z) and join the two new points with the edge operation.
  • Drag the new edge down slightly with the right mouse button

  • Extrude the new edge and extend down.

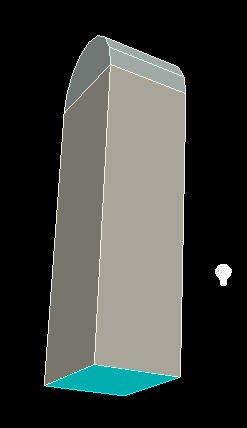
  • Resize the whole object to about 0.03 wider and 0.03 shorter than the spring object.

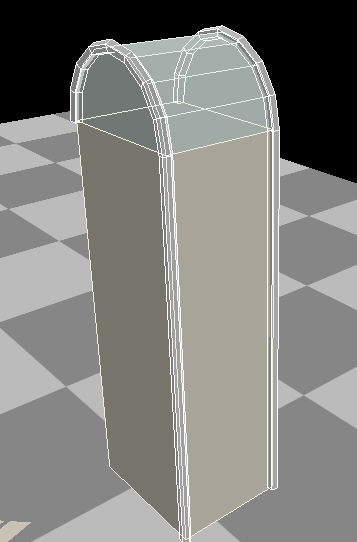
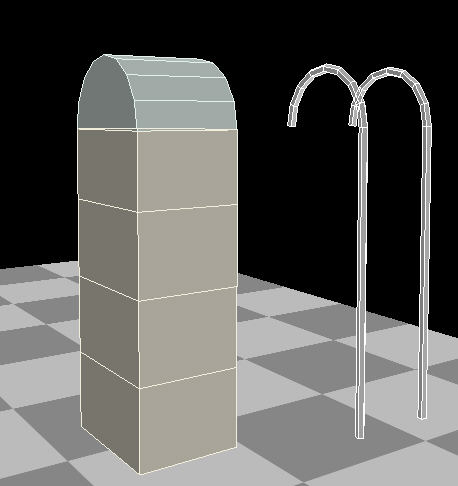
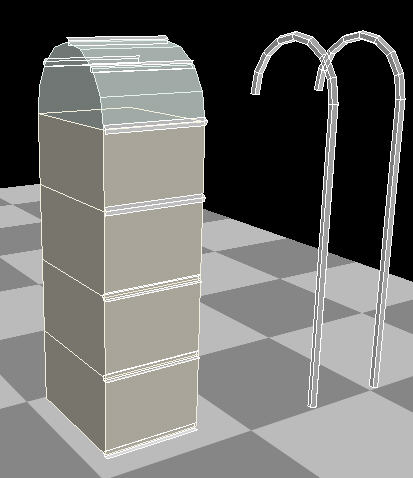
  • Select the edges at both ends and run the pipe builder plugin - 4 sides, 0.025 diameter. Position over the spring... et voila! Relatively low poly (48 each) due to the lack of ends.

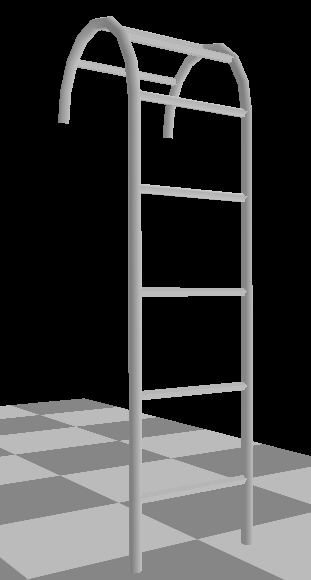
    Incidentally, if you need covered ends on a pipe built with the plugin, the Solidify operation does the trick.

Comment: "Very handy tip Paul. From the information you have given I can see many uses in addition to Train models - Bicycle frames, Candlelabra, any types of hose, chains etc" (Brentton Smith)


2. Ladder with Curved Top

  • Start with a default Cylinder
  • use a rotational shift operation of 90 degrees to put it on its side.
  • Use the multi-select tool on the right with the Ctrl + Alt keys held down to delete all the points *below* the centre line.
  • This leaves half a cylinder (see image left).
  • Add a default Cube.
     
  • Select the half cylinder object and run my "3DC Butt Objects" plugin. Select the cube from the tree view and Centre on X and Z, Maximum Y (There are other methods of doing this, but I find this quickest).
     
  • Merge the two objects into 1 with the Merge tool on the right.
     
  • Run the Weld to Range plugin to make sure there are no double points.
     
  • We now have a single object (see image left).
  • Scale the object to the right dimensions (usually about 0.4 in X & Z directions, about 0.7 Y).
     
  • In select face mode, right mouse drag the lower face to give the full length of the ladder.

  •  
  • Hold down the Ctrl key and select the edges that make up both sides of the ladder.
     
  • Run the Pipe Builder - I used 5 sides, 0.04 diameter.
     
  • There should now be 2 pipe objects in a single sub group - drag this out of the way.
     
  • Reverse the process of extending the lower surface so it is now at the position of the first rung.
     
  • 14) Use the extrude operation, using the rung separation value (about 0.3).
     
  • Select all the rung edges and run pipe builder (here I used 5 sides and 0.03 as values).
     
  • Delete the first object.
     
  • Some of the rungs were formed inside out - I needed to select each in turn and run the invert operation.
     
  • Using the hierarchy, drag the "rung" pipe group into the "sides" pipe group so it becomes a sub-group.
     
  • Change the position property of the rung group to XYZ of 0,0,0.