Creating A New Route: The Idiot's Guide
by by Jim "Sniper" Ward

Overview

This is not for you wiz kids who grabbed this thing and figured it out the first day, it's for the rest of us dummies that have been trying to figure it out through trial and error.

All you geniuses go to another thread.

{Pause......} Are they gone now?

Good.

Then the rest of us can finally get the step-by-step and quit getting blank tiles and green grass.


First Thing Before You Start

Now is where it gets tricky. Open an existing route in the route editor. Click on Window | Texture Select if it's not already open.

Click on Edit | Insert. This brings up a box (see below) with a bunch of terrtex files in it.  Mine always pops up on the right side of the screen, so you may have to grab the bar at the top and drag it over so you can see the whole thing. as you click on each file name a picture of it appears in the little window. Write down the name of the file you want to use for the default.

Exit all the way to desktop. Don't be lazy and go right to the extractor, this thing does a lousy job of clearing memory, so if you don't LEAVE THE LAUNCHER ALL THE WAY between each type of editor and each different route you open, you're playing with the kind of fire that will save information from one route into another, wrecking both of them.


Creating Your Route

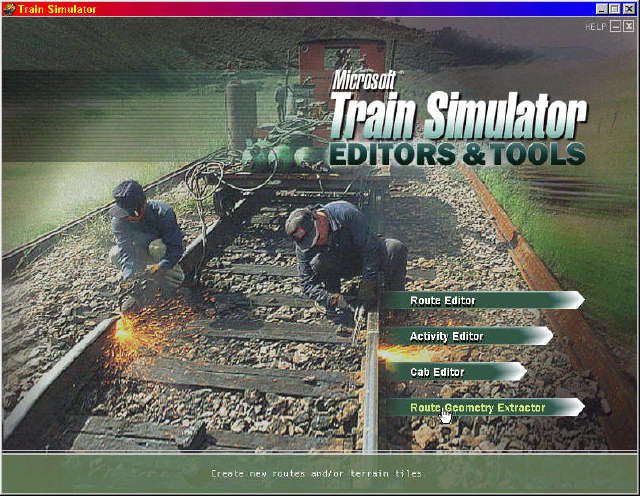
Restart the MSTS Editor and Tools. Launch the Route Geometry Extractor.

The Route Geometry Extractor window opens. Click File | New Route

This displays the Create New Route dialog box. Type in all the stuff you want in the boxes.

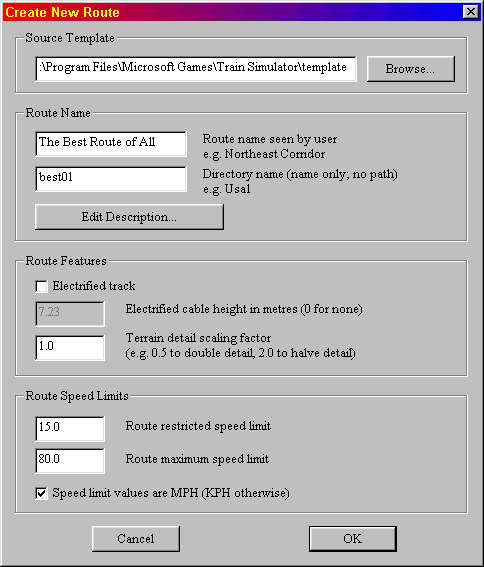
In the Route Name field, type the new route’s name and description (such as “The Best Route of All”).   If you wish, you can click the Edit description button, type a route description, then click OK.

This name will appear in the list of routes when you run MSTS.

In the Directory name field, type a short name (such as “best01”).  To make Train Simulator routes more self-contained and easier to share with others, each route has its own directory of required files (including configuration files, terrain, shapes, textures, etc.). This directory name is the new route’s unique identifier, and the title of the route information folder that is generated when you create a new route.

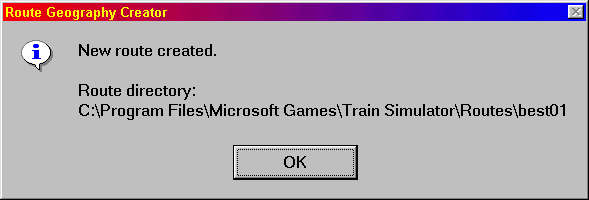
Press "Ok". After a short time, MSTS RGE will tell you.....

Click File | Select route. (I assume you know to select the one you just created, even if the extractor is too dumb to automatically go there). This displays the "Select Route" dialog box, with a drop-down list box of available routes. In the Route list box, click the route name you just created, then click OK.
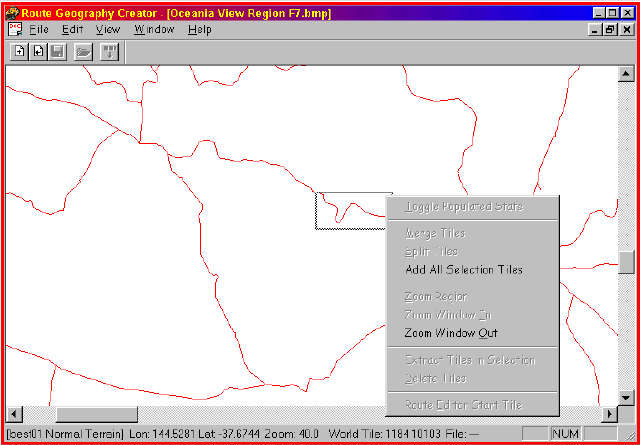
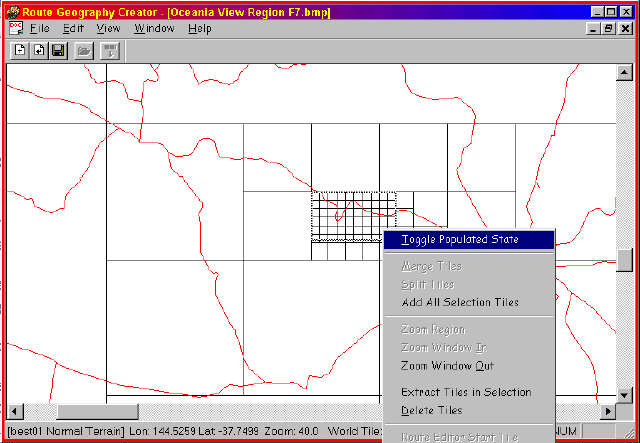
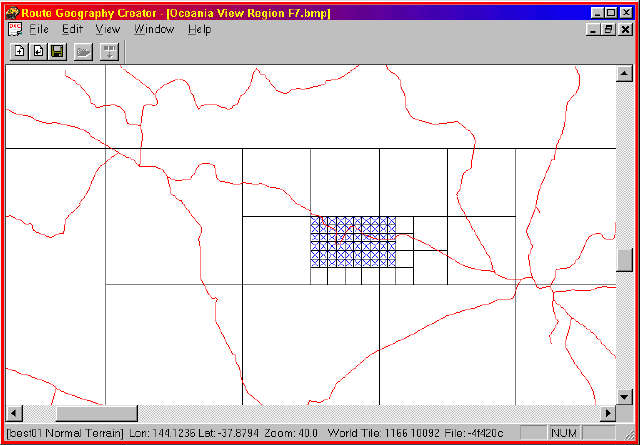
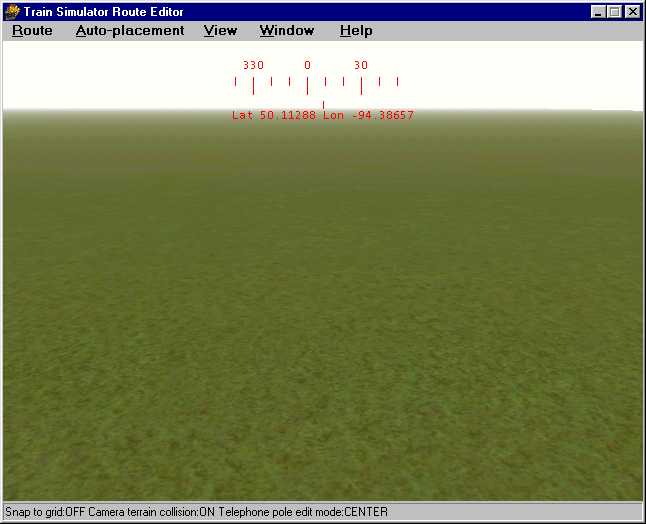
Click File | New Quad-Tree. The Route’s Directory name and “Normal Terrain” appear on the left of the status bar. Nothing else appears, since the quad-tree is still blank. The Quad-tree is the blank sheet on which the RGE tool lays out a grid of potential terrain tile positions.

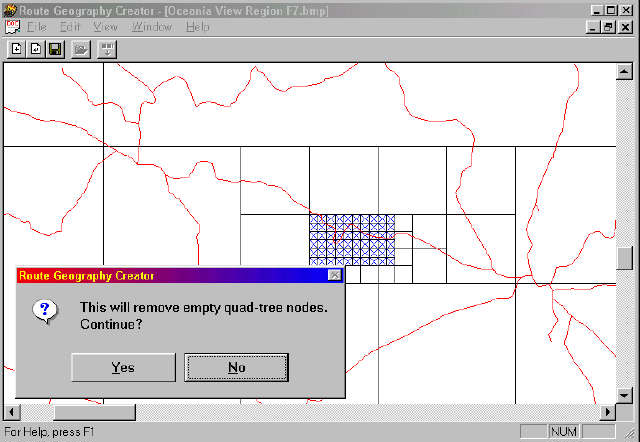
HERE is where you insert what they left out and as near as I can tell from trying to add it or change it afterwards, you only get one shot at it.  Before "New Quad Tree" or after "Add All Selection Tiles" you might as well be trying to get milk from a male ostrich for all the effect it's gonna have.

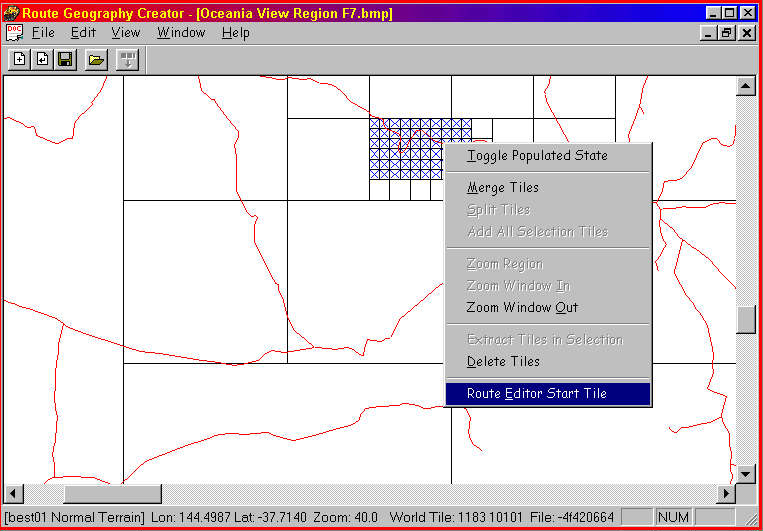
Edit | Set Height Offset: Defaults to plus one meter if you don't change it here.


Selecting Region And Tiles

Right-click in the desired region on the map to display the context menu, then click Zoom Region.

Repeat this step to zoom in further. Continue this until "Zoom Region" is greyed out.

To zoom in further, click Zoom Window. Use Zoom Window as needed to zoom in to the desired degree. If you have a vector file for the region, you will see red lines indicating existing real-world rail routes. When the Zoom Window In is greyed out, you've gone as far as you can.

Drag a rectangle around the section of the map you want the route to occupy. IMPORTANT NOTE: Drag from top left to bottom right only or the next steps won't work.

Right-click inside the selected area, then click Add All Selection Tiles.

This creates an empty grid of black squares over the selected region. The smallest squares represent potential two-kilometer terrain tiles. You can repeat this selection procedure to increase the area covered by these grid squares.

To select the specific squares that you want to export as terrain tiles, zoom in as needed, then drag a rectangle around the region they occupy.

Right-click inside the selected region, then click Toggle Populated State.

The black squares you selected become blue. Remember that you may have to repeat this process a few times to get precisely the desired selection.  You can also select tiles one at a time by right-clicking a tile, then clicking Toggle Populated State. You can ensure that no region is selected by clicking anywhere on the map. The term “populated state” refers to whether you have selected a terrain tile to be created at the specified position. Whether you have selected a single tile or a region, clicking Toggle Populated State a second time deselects the tile or region.

Edit | Minimize quad-tree. When you see the message “This will remove empty Quad-tree nodes. Continue?” click Yes.

This reduces the route file to its bare essentials.


Saving Your New Route

File | Save Quad-tree.
Edit | Generate Flagged Tiles.

This displays a message that indicates the number of tiles to be generated and the number of tiles flagged, then asks if you want to generate these tiles; click Yes.   In the status bar at the bottom of the screen you will see that the Route Geometry Extractor is creating the tiles one by one.


Right-click one of the blue tiles to show where you want the route to begin, then click Route Editor Start Tile.

Exit all the way to desktop.  Don't be lazy and go right to the extractor, this thing does a lousy job of clearing memory, so if you don't LEAVE THE LAUNCHER ALL THE WAY between each type of editor and each different route you open, you're playing with the kind of fire that will save information from one route into another, wrecking both of them.


Changing Default Terrain

I haven't had any luck at all with the source directory, it always copies from the template no matter what I type in there, so I just manually add the stuff I want in the explorer. Do the edit, preferences thing sometime before you save the quad tree, and type in the name of the file you wrote down for your default texture.

Don't forget to pick the start tile, then exit - again, all the way back to desktop. Go to Windows Explorer, copy all the files into your new route directory INCLUDING THE ONE YOU CHOSE FOR YOUR TERRTEX.

Now open it up in the route editor -

&$#%@*+! There's that *#%^$^%&*#^! green grass again! NOW what?

Take it easy, I know exactly how you feel. Click on the window, texture select again, like you did before when you were choosing the tile. Do Edit | Insert again, and "open" your texture.

Now go to Edit | Delete, and get rid of terrain.ace and if it's in the box microtex.ace (don't worry, you're not actually deleting the files, and you can add them back in later, you're just getting them out of the way.)

Delete everything until your texture is in the number one spot, (although mine always has just the one texture showing on a new route, you might have a different experience) and all the terrain tiles change to that texture.

Now SAVE THE ROUTE and exit all the way back to the desktop. When you open it from now on, the default texture will be the one you inserted. In fact, I'm not really sure that the "Preferences" dialogue in the extractor is necessary at all, since I just tried it and I can change the default texture of any route by doing that - only problem is, if you do it on an existing route, any tiles that were set to a different texture than the default will be set to default, so be careful playing with this on big routes with a lot of different textures.

One thing I noticed is that "inserting" a texture won't stick in the selector window unless at least one tile on the route is set to that texture.

Good Luck.