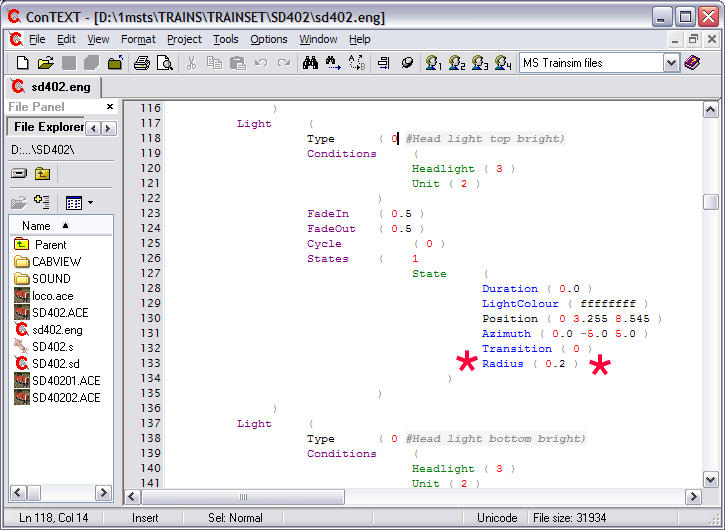
You will need to edit the radius in the lighting section in .ENG files you wish to use in the sim. Make a Backup of the ENG file you're about to open, then open the file of choice in Wordpad or a Unicode-aware editor such as ConTEXT, my favourite.
Scroll down to the Lights section and find the light section you wish to modify: you will need to modify the Radius parameter (in the example image below, I've marked the line with asterisks). Typically, you'll need to reduce the radius to 40-50% of the original.
Save and quit and try out your altered lights in MSTS.
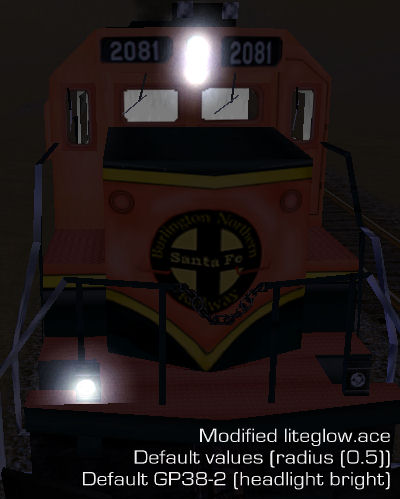
Let's look at the default GP38 and observe the effects of changes to the ENG file when we use the new liteglow.ace: comments are under each image. The headlights are set to "bright" for the screenshots.
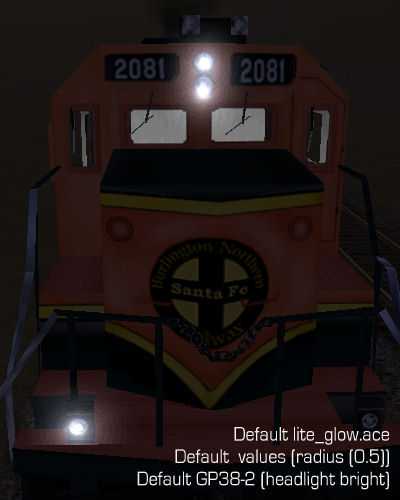
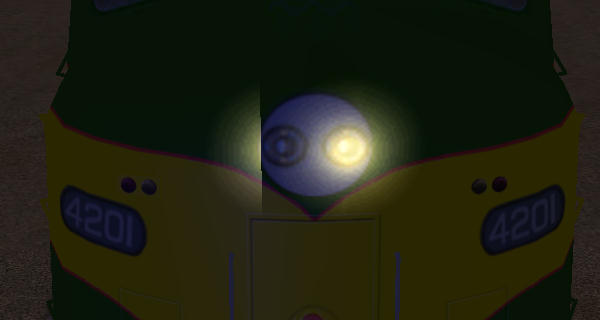
Totally default: liteglow.ace, radius of 0.5. Notice the glow extending beyond the lights and the ditch light disappears into the front footwalk.
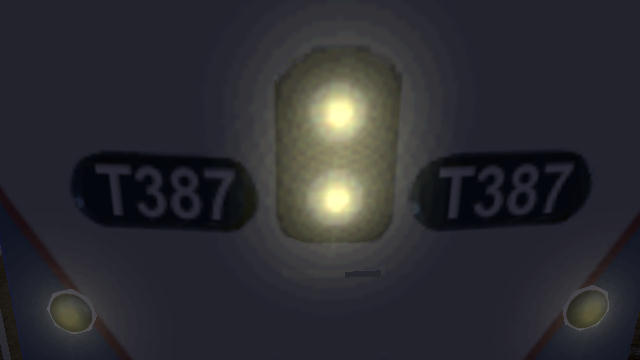
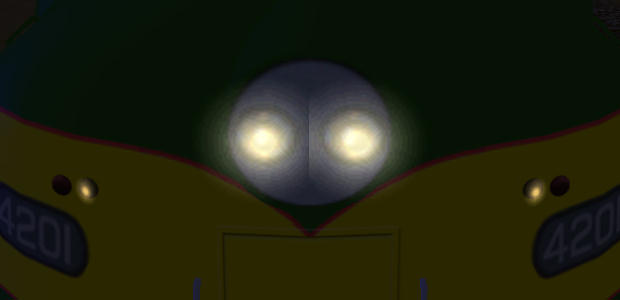
The new liteglow.ace has been installed but the radii of the lights are unaltered in the ENG file: the lights are now much too big.
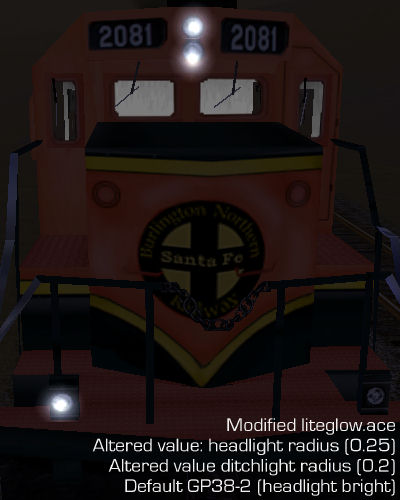
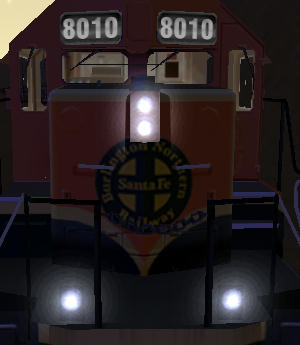
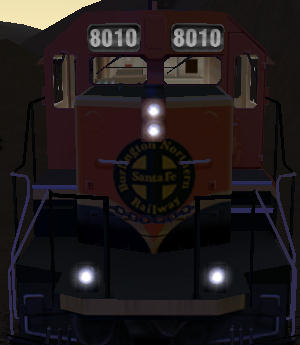
This time the radius of the headlights have been reduced from the default 0.5 to 0.25 and the ditchlights even more from 0.5 to 0.2. You'll now notice that the lights "fit" the textured light fittings far better, the ditchlight glow no longer dips into the footwalk and the overspill of glow has disappeared. This also shows that the light positions weren't really correct in the default locomotive.
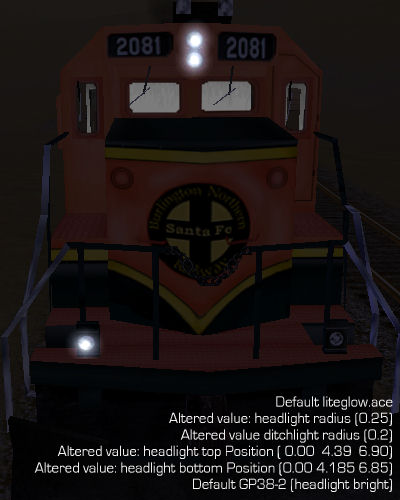
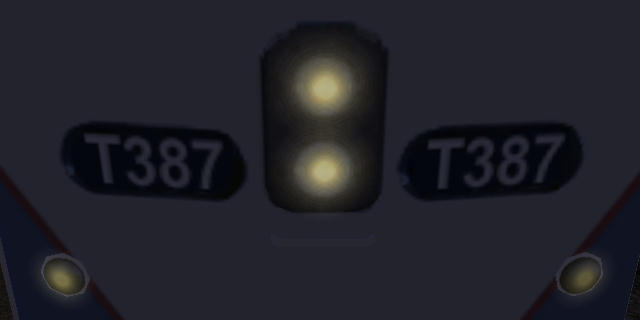
Finally, I've moved the lights closer together, changing the position of the top light
from Position ( -0.00365 4.3885 6.90297 )
to Position ( 0.00 4.39 6.90 ) and the lower light is now
Position ( 0.00 4.185 6.85 ) instead of Position ( 0.00344 4.12601 6.84792 ).
This is now looking much better; I'd also change the colour from "ffffffff" to something like "ffF7EDC5", but that's beyond the scope of this article.