Removing Perspective Distortion In Texture Preparation
by Ron Picardi

Overview

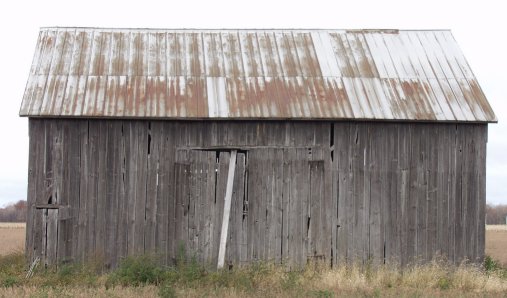
Some of the best and most realistic textures are prepared from digital photos. However it is often impossible to get a perfectly squared texture from a photo.

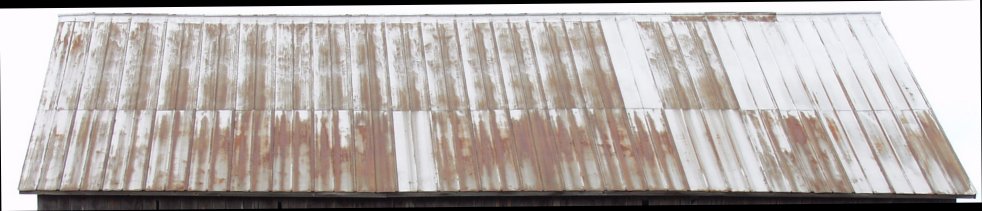
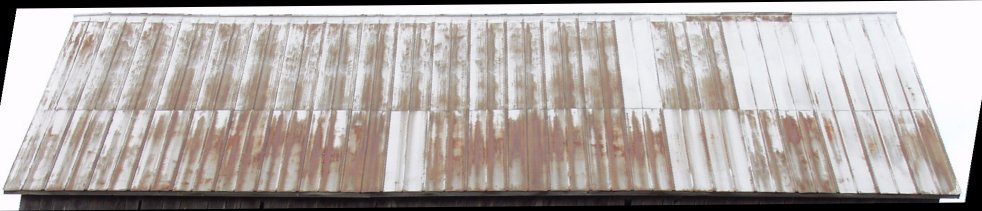
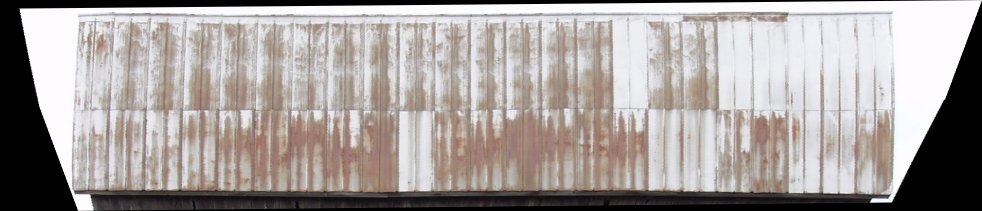
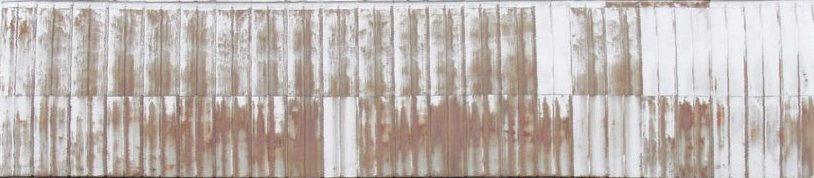
By way of example, here I am preparing a tin barn roof for use as a texture.

As you can see, even though the barn was photographed nearly head on, it is impossible to photograph the tin roof that way. The solution is to use the special effect tools in your imaging program to correct the problem. In this example, I will be using Paintshop Pro 7.x, but the same principles would apply no matter what software you are using.


The Process

  1. From the raw photo of the barn (see above) select and copy the roof section as a new image.
     
  2. `
  3. Double the size of the image using the Image | Resize tool.

    Why do you want to do this? This is to reduce the effects of anti-aliasing and blurring that is going to occur in the steps needed to flatten the image for use. Depending on what is needed you may even want to further enlarge the image; usually doubling is more then enough for texture processing.

  4. Use the Image | Rotate tool to line up the center of the image horizionally.

    Why the center and not the top or bottom? Because, if there is any perspective distortion rotating will make it easier to correct later.

  5. 4 If necessary, use the Effects | Geometric Effects | Skew tool to center the vertical perspective of the image.

    Why do I do this? It makes using the Perspective tool easier for the next step.

  6. Now use the Effects | Geometric Effects | Perspective - Vertical and flatten the image.

  7. Copy and paste the flattened section of the finished texture as a new image. Reduce the size of the image to fit the texture needed.

Done correctly, you can eliminate the unavoidable perspective distortion present in most photographed textures and still retain as much detail as possible to prevent the painted look.