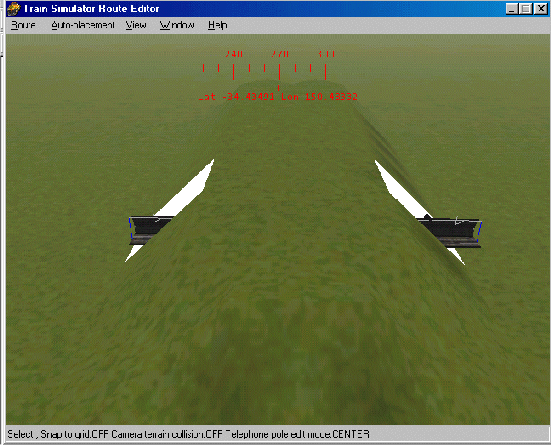
First things first, create a hill (If you have your terrain already setup using DEM data or just by playing around with the terrain altering tools, then just find a place where you want your tunnel).
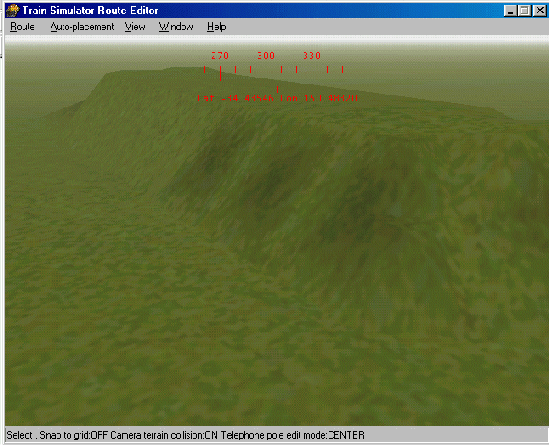
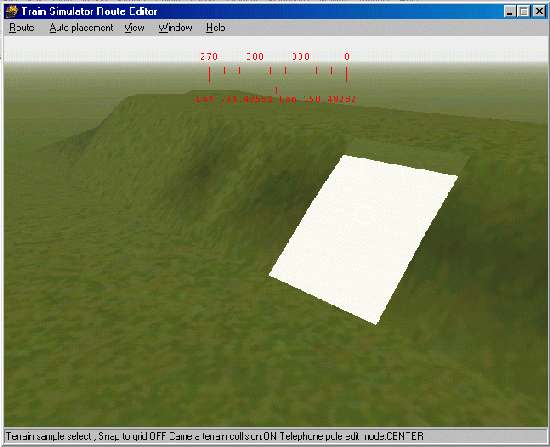
Press the "Alter Terrain Height" button (or F9), move the crosshair to the area where you want the tunnel to begin and press "V" on your keyboard: this will make the area transparent.
Next find an area where you want the other side of the tunnel and make it transparent.
Note: If you can't make terrain transparent by pressing V, make sure you don't have any terrain selected.
Once you have your holes ready, you can start adding track between the holes; it's best if you turn off camera collisions by pressing "/" (FORWARD SLASH) key and using wireframe mode by pressing "W".
Note: When in the "Object Selector" menu finding tunnel based tracks, look at the file names carefully for clues as to its shape:
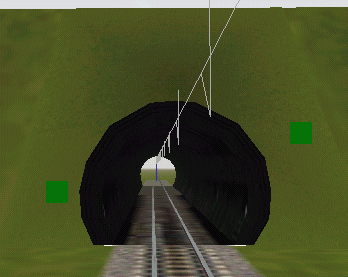
- TUN means a square tunnel
- RNDTUN means a nice round tunnel.
When making the route for this tutorial I didn't copy any track based shapes from other route to the test map folder, so there may be some more tunnel shapes included with the offical MSTS routes.
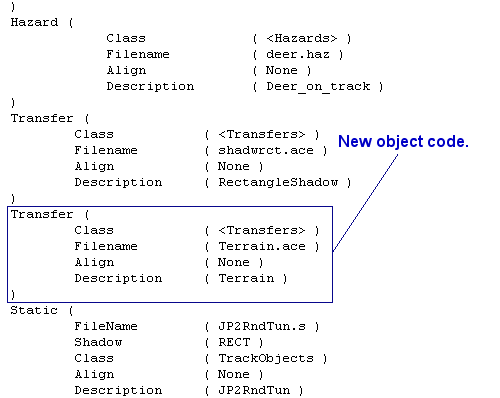
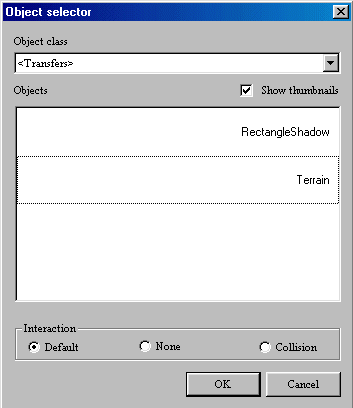
Now that we have our track running through the holes, we need to cover the rest of the transparent gap. To do this, we need to use a few "Transfers" to cover the gaps.
Press "More" in the floating "Placement" bar, this will bring you into the "Object Selector" menu, select "transfers" from the "Object class" pulldown menu and find a transfer that matches the texture you're using for the tunnel.
Place the transfer on the route as you would place a piece of track: move the trasfer over the gap (it should hog the ground when moving along the terrain so you don't have to do anything like adjusting the height or rotating like you would normal objects or tracks). You can adjust the size of the transfer by right clicking on it when selected then selecting the "Transfer" tab.
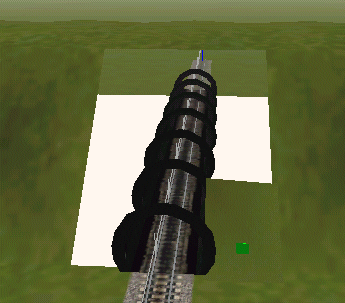
You may need more then one transfer to cover most of the big gaps; don't forget the apply transfers to the other side of the tunnel.
Note: If you want to make transfers, please scroll down to "How To Make Transfers".
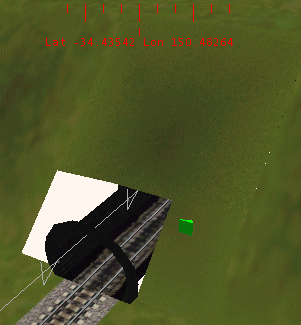
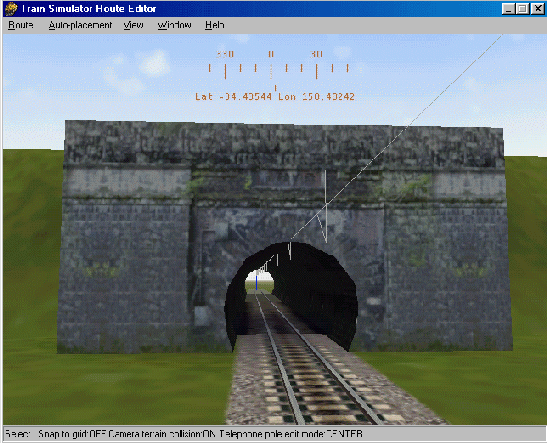
We have now covered the majority of the hole, but there will be some small gaps left and the tunnel track is sticking out of the hole.
It's very simple to cover the tiny gaps and excess tunnel track by inserting any tunnel object in front of the hole and there you have it - a perfect tunnel.