Xtracks - Placing a Zero Degree Switch to Overcome the Node Problem
by Yuri Sos

Overview

Xtracks is an expanded range of straight, curved, trolley, bridge, tunnel track pieces, as well as switches (turnouts), crossovers and a turntable. Xtracks also includes corrected track shapes and other files that were omitted from Microsoft's original MSTS release..

In an effort to get around an MSTS bug where a great distance between points (switches for US readers) caused erratic train handling and coupler breakage, zero degree nodes were developed.

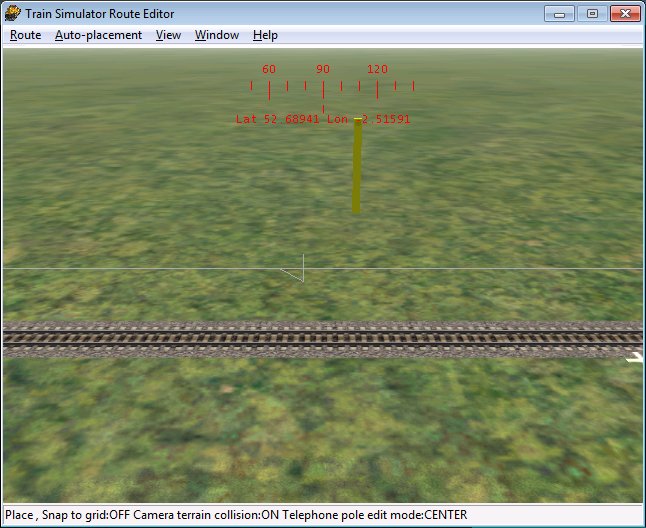
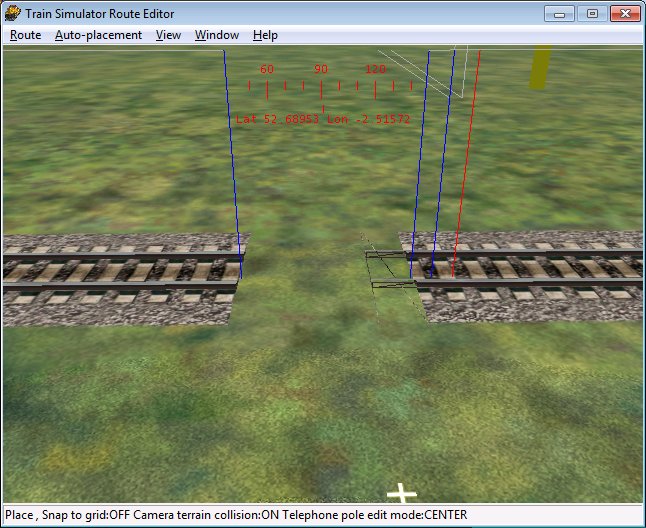
These are 1m "invisible" points/switches, a pair of which should be placed every 5-6km between nodes. Placement is simple but not intuitive.

You will require three track pieces: A1tPnt1mStrt.s, A1t3mStrt.s and A1t1mStrt.s.


Installation

Let's start: the steps are explained in the following images:

  1. First you need to decide where the node is going to go (approx 5-6 km from the next node or set of points/switches); you will need to have a 5m space:

    xtrks_node_01.jpg

  2. Here we've highlighted and will delete a 25m straight track:

    xtrks_node_02.jpg

  3. Next place a track piece 5m less in length than the piece you've just deleted; in this case we've placed a 20m straight, leaving a 5m space:

    xtrks_node_03.jpg

  4. From the Object Selection Menu, select a "A1tPnt1mStrt.s" track piece and place it: here it's just been placed on the right side of the gap:

    xtrks_node_04.jpg

  5. Now place another "A1tPnt1mStrt.s" track piece next to it, like so:

    xtrks_node_06.jpg

  6. Press Ctrl-T ONCE and once only.

    From the Object Selection menu, select and place an A1t3mStrt.s in the gap to the left of the switches; as you place it, you should see two red poles and two blue poles where your two A1tPnt1mStrt.s pieces have been placed:

    xtrks_node_07.jpg

  7. From the Object Selection menu, select an A1t1mStrt.s track piece: place your cursor between the two blue poles and click to insert the 1m piece:

    xtrks_node_08.jpg

  8. If you've done this successfully, the blue poles will diasppear and you are left with two red poles indicating the presence of the zero node:

    xtrks_node_09.jpg

Now that was simple, wasn't it?