Adding Yard Camera to An Existing RouteS
by Jim "Sniper397" Ward

Overview

Q: What's a yard cam view?

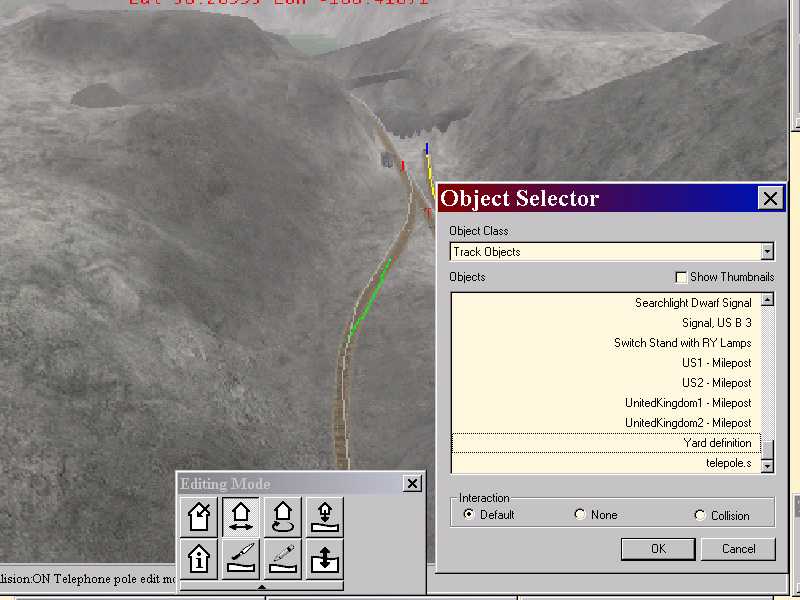
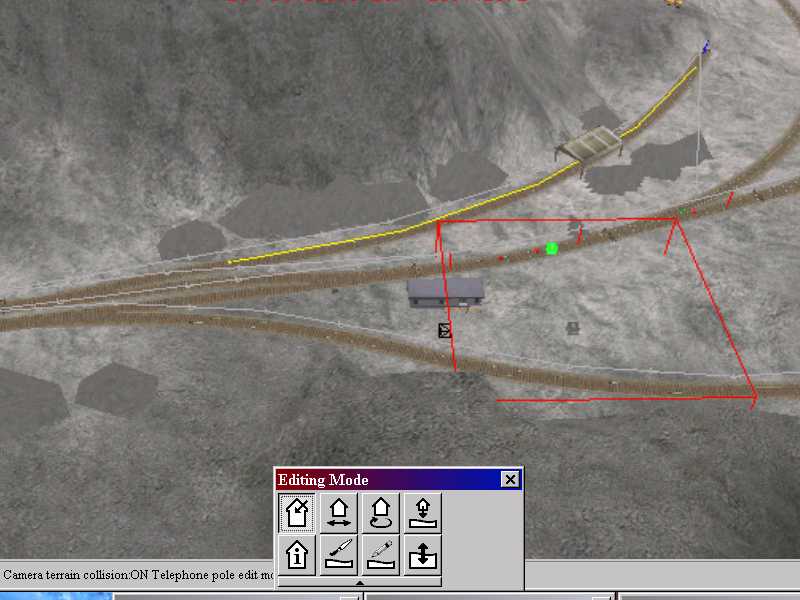
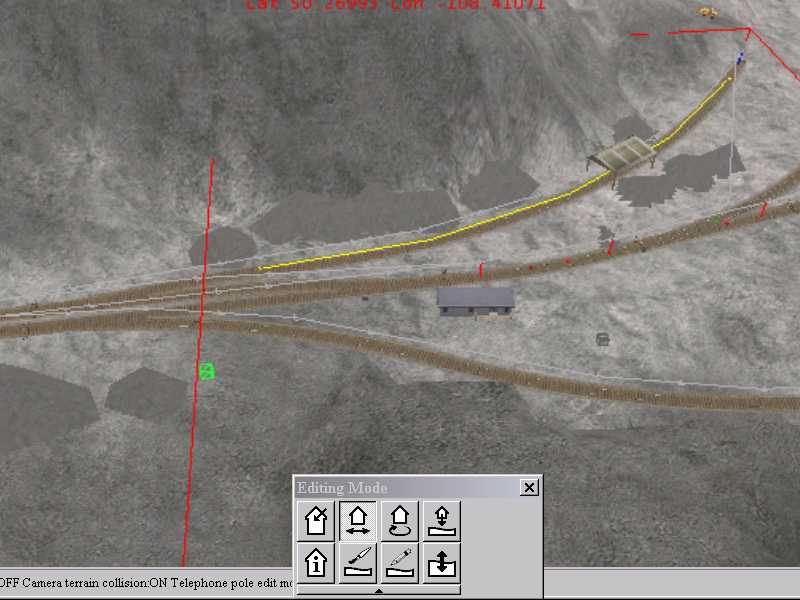
A: When the viewer enters a designated yard area, you can press the "7" key and get an overhead view of that area. What's more, if you are prepared to fiddle with the camera configuration file, camcfg.dat, you can fly all over the designated yard area.

Visit "Camera Angles for MSTS-Trains" by Michael Rothenberg for detailed information on changing your camcfg.dat file.

You may also wish to click here to download a 147k file - modified_camcfg_dat.zip - by Matt Voll which includes the modified "7" view.


How to Add a Yard Camera

First, open Windows Explorer. Make a new folder named "backup". Go to \MSTS\Routes, select the folder for the route you intend to hack, click Edit, Copy (or CTRL C). Go to your new \backup folder, click Edit, Paste (or CTRL V). Now you have a complete backup copy of the route, so you don't need to worry about turning it into glockenspiel.

Open the route you want to hack in the Route Editor:

Select "Track Objects", scroll down to "Yard Definition". Place the yard definition marker in the middle of the area you want to define as a yard (can be on the mainline too, don't matter);

Use the select tool to grab one of the green boxes, these are handles.

Switch to the movement tool, drag the green boxes to stretch out the area you want to define.

Save, exit, try it out.