Installing MSTS On A Windows 7 PC
by Yuri Sos

Introduction

(2010) - I've been receiving many emails asking me to do a Windows 7 version of my MSTS Install Guide that some people have referred to as the "MSTS Install Bible".

Having now installed MSTS on several Windows 7 machines, I've decided the time has come for a dedicated Windows 7-based tutorial (plus a new Windows 7 PC at work gave me a "virgin" machine to work on).

(2021) By the way if you've arrived here from an old forum link, there's now a Windows 10 install tutorial;
read Installing MSTS on a Windows 10 PC.

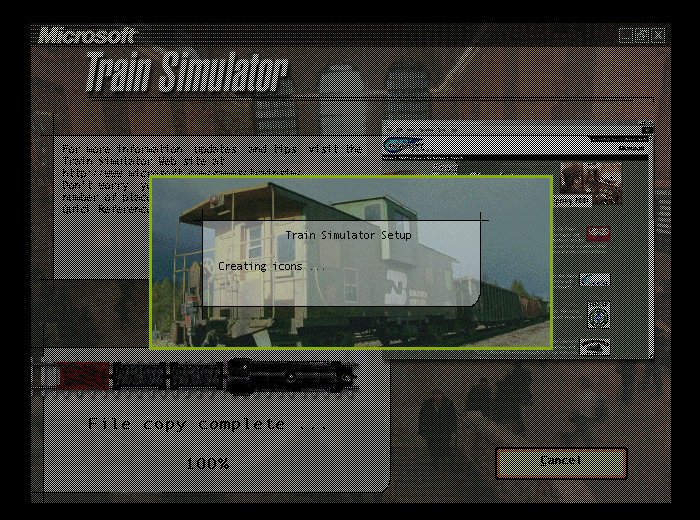
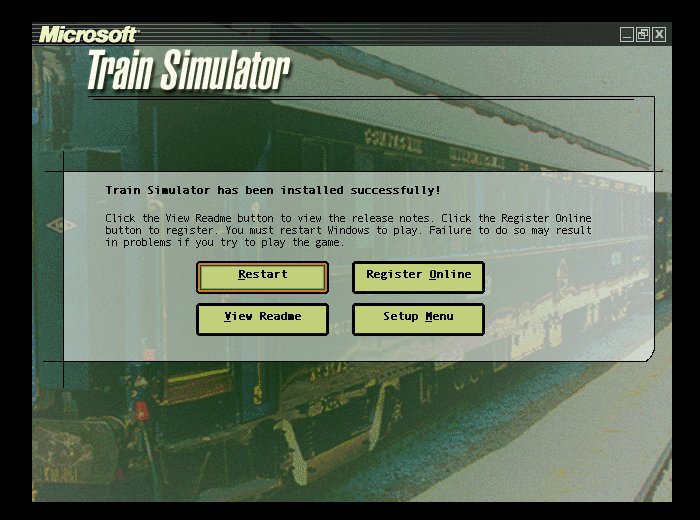
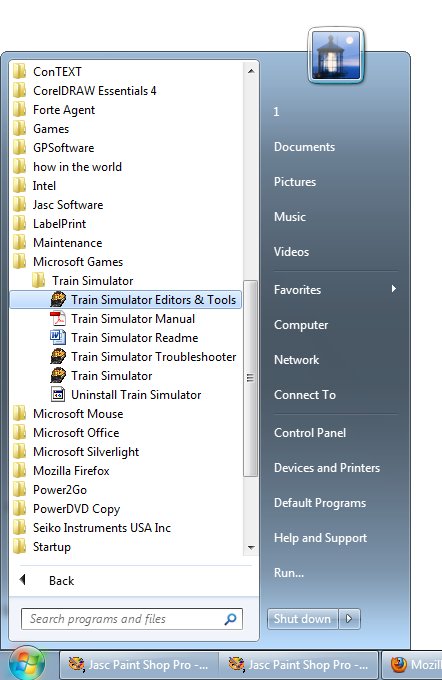
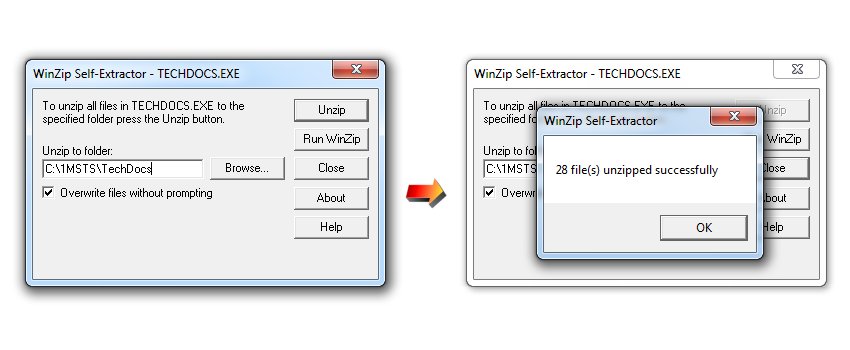
Ok, let's get started.

If you're using Windows XP (really? - in 2021? "C'mon, man!"),
read Installing MSTS on a Windows XP PC.


Uninstalling your old MSTS

If this install is a re-install, you're going to have to uninstall the old version first.

  1. Move all your non-default routes, trainsets and consists away from your MSTS\Routes folder BEFORE uninstalling. Leaving them in the \Routes subfolder and re-installing MSTS seems to corrupt non-default routes (you end up with tracks and objects, but no terrain at least or an unusable route at worst, plus there are missing .S files in some of your trainsets);
  2. Uninstall MSTS via "Add/Remove Programs" in Control Panel;
  3. Use Explorer to delete any residual MSTS folders (anything you've added to the installation needs to be manually deleted). These steps should clear the registry as well as the hard drive.


Preparation

In my opinion, there are two ways to install MSTS - the hard way and the easy way.

The hard way involves disconnecting from the internet, disabling UAC, installing, setting permissions, unblocking things, re-establishing UAC, re-connecting to the 'Net - it's all too fiddly and prone to errors and frustration.

I'm going to show you the easy (easier) way - no fiddling with the UAC, no disconnecting from the 'Net, (usually) no hassles with batch files, etc.

This is the default UAC (User Account Control) setting in Windows 7: you don't need to touch it.


It does have a nuisance component, though, as it asks to for permission to proceed on every single step, thus


We can get rid of these pesky messages without compromising the security of your system.

Browse to https://www.winability.com/tweak-uac/ and download and install Tweak-UAC. Run Tweak-UAC and select "Switch UAC to the quiet mode", thus


This option does not turn off UAC; instead, it only makes UAC to operate in the quiet mode. In the quiet mode, UAC does not display the elevation prompts for the administrators. (This TweakUAC tip was provided on the UKTS forums by Doug Kightley.) To the naysayers: can you honestly say that you carefully read each UAC prompt..... or do you, like a majority of users, simply click "allow" automatically? Do note that UAC only "protects" system files - it does nothing to stop malware and viruses getting into the rest of your system and emailing everyone in your address book on the benefits of body part enlargement.

Right, now we're good to go.


Installation


When you run setup, Windows will try to install MSTS in its default folder,
C:\Program Files\Microsoft Games\Train Simulator in 32-bit systems or
C:\Program Files (x86)\Microsoft Games\Train Simulator in Windows 64-bit systems.

DO *NOT* INSTALL MSTS TO THE SUGGESTED DEFAULT FOLDER

Stay out of the Program Files folder altogether: install MSTS to another folder, say, C:\1MSTS or even another drive, for example X:\1MSTS where X: is your target drive (local or external)- naming the folder thus will cause it to rise to the top of your folder listing in Explorer and is a lot easier to type into "Save" dialogues.

Vista and Windows 7 OSs "protect" (ie interfere with the modification and installation of) files in the Program Files folder, often leading to errors with batch files running and activities unpacking. Installing MSTS outside "Program Files" also makes it much easier to move or access MSTS files across your wired or wireless network.

The following images show you the way:

  1. Click on "Install"


  2. Click on Right-Arrow


  3. Adobe Acrobat on the MSTS disk is about version 4: with a Win7 machine, you'll most likely have Adobe Reader 8 or 9, so skip this step (ie say "no")


  4. Click on the radio button labelled "Customize Installation Options":


  5. Click the "Complete Install" radio button (1) , then "Change" (2) then Right-Arrow (3)


  6. Select the drive you wish to use, then type in the name of the folder you wish to install to (here I've chosen "1MSTS" as my install folder).......


  7. ..... and I've promptly made a mistake: you must type drive and folder in the field for the path to the program:


  8. Go back and make sure the path reads drive AND folder as below:


  9. If the folder doesn't exist, you'll be asked to ok its creation:


  10. Check that everything is now as you've selected and click on the right-arrow to commence the actual installation:


  11. The program creates the necessary folders...................


  12. ..... and then starts the installation proper, a locomotive travelling slowly across the tracks to mark progress:


  13. At 29%, you'll be prompted to insert CD2: do so, wait till the CD drive spins up, then press OK. Installation proceeds:


  14. Installation proceeds......


  15. ....and completes.


  16. Now restart your computer as instructed:


  17. You will have an MSTS icon on your desktop, thus:


  18. If you click Start | All Programs | Microsoft Games | Train Simulator, you will see that the "Editors and Tools" icon is present (new users continually post "I don't have a link to the Tools!" Yes, you do!):


Right, that takes care of the basic installation. Now it's on to the upgrades and enhancements.

Don't start MSTS just yet.


Install MSTS Updates

Install the web-based MSTS "update to patch v1.4". Yes, irrespective of whatever you've just installed (Microsoft, Atari, Ubisoft, Xplosiv) you need to install the web update.

"Why do I need to do this?" I may hear you asking? Two reasons:

  1. It removes the necessity to have an MSTS CD in the drive when you're playing the game; and
  2. It's the version of MSTS that must be present for you to install and run MSTS-Bin (more of that later).

A discussion of the different versions of MSTS may be found at MSTS Downloads Page, but to simplify things: if you have an MSTS purchased after 2003 and/or distributed by Atari, Ubisoft or Xplosiv, you already have version 1.4. If you're in any doubt on the version you have, look in your TRAINSET folder: if you have the SD402 or Class50 inter alia you already have v1.4.

From the MSTS Downloads Page site, download and run the MSTS v1.4 Train Simulator Update. Click "ok" at the next screen....

..... then point the installer to your MSTS folder (this installer by default points to a "C:\Program Files\" folder, so you'll need to alter it), and click Unzip. You'll receive a confirmation message that files have been unzipped. You may then need to restart your PC to ensure that you're not pestered by the "insert disk in drive" message.

Now, if you don't have the SD402 nor the Class50, go back to MSTS Downloads Page and download and install the Class50 and SD402 content. Many model builders alias sounds and cabview files to the Sd402 and Class50; some refrigerator wagons also use sounds aliased from SD402 content.


Rename Uninstal.exe

Rename Uninstal.exe to MSTS_Uninstal.exe .  Do this now BEFORE installing anything else (after the updates). This is because there are several incompetently prepared installers of downloadable models out there:  one of the most common errors in these installers is to include an uninstal.exe file and install it into your MSTS folder, overwriting the default uninstal.exe.  This step protects you from this eventuality.

(If you need to uninstall MSTS, delete any rogue Uninstal.exe and rename MSTS_Uninstal.exe back to Uninstal.exe: you can then uninstall by double-clicking on the Uninstal.exe file or via "Add/Remove Programs" in Control Panel).


Copy The TechDocs

Now before you put away your MSTS disks, browse to the Techdocs folder on CD1

and run Techdocs.exe,

unzipping all files into a Techdocs folder in your MSTS installation.

You now have all of the MSTS reference files close at hand.


Make A Copy Of Your Global Folder

Make a copy of your "Global" folder: click on the folder name and Click Copy then Paste.

Now you have a "Global - Copy" folder: if worst comes to worst, this can be used to bring your Global folder back to an installation default.


Delete startup.mpg

Get rid of the startup sound and image .mpg: it slows down program loading; the presence of this start-up video file is also responsible for many "Keyboard Stops Responding" errors, so eliminating it from start-up removes another source of error.

In Explorer, browse to your MSTS\Global\folder : rename startup.mpg to startup.mpg.old ; you can even delete it without any ill-effects on your MSTS installation.


Expand Your Selection Lists in MSTS

Picking a train to drive in MSTS can be difficult because the default list of trains is only four lines long and hard to navigate. It's the same for consists, stations, and the time of day.

There is a fix for this - see image below: note the long list of locomotives to choose from (right-side image) after installing this modification.

This clever modification was designed by by Jak Fearon of howintheworld.com.

Click here to download the "Train Sim Interface Quick Fix".

Open the zip and double-click on the installer (tsintfrc-setup.exe); accept its defaults - couldn't be simpler.


Install Semi-transparent Driver Aids

The driver aids that pop up on your screen when you press F3 (Controls and Gauges), F4 (Track Monitor), F8 (Point Indicator) and F10 (Next station) are opaque by default.

Adam Wojcieszyk has taken a leaf out of TV stations' books and created semi-transparent driver aids that allow you to still partially see the image behind.

I've created an installer that simplfies the whole installation process:  click here to download AW_GUI_newDriverAids_MSTS1_Setup.exe. .  Simply run this installer and the DriverAid screens will be changed (the originals are saved in a backup folder).


Activity Unpack Fix

When you download a packaged activity from the web and try to install it using TSUnpack, you will see an error "unable to open packaged activity".

This is caused by a registry error that is simple to fix.

Simply download this installer written by Thomas Tydal. Save it somewhere (say the Desktop); right-click on the .exe file and "Run As Administrator" (this file modifies the Registry, so it needs to be and run as an Administrator) once.

You can now unpack activities.

Note: If you do NOT "Run As Administrator", tsunpack-fix.exe will report that the Registry bug was fixed, even though it hasn't been.


Improve Sound Quality

MSTS is now a ten-year old program: when written, system resources on PCs were far more limited. You can improve the quality of default sounds in MSTS by downloading santucci_soundcfg.zip. Open the ZIP and drag-n-drop the soundcfg.dat file to your MSTS Global folder, overwriting the default file.

Fore more information, you can read Improving Sounds: An Important Update.


Setting The MSTS folder To Read/Write

Let's just take a minute to make sure that the MSTS folder is set to read/write.

  1. Click on "Computer" (or open Explorer). Browse to your MSTS folder. Right-click and select "Properties". Under "Attributes", it's probably set to "Read-Only".

  2. (If it's not set to read-only, select read-only and click "apply".)
     
  3. Either way, the MSTS folder is now set to read-only. Now unselect "read-only" and click "ok".

    Select "Apply changes to this folder subfolders and files"; Click "Ok".

  4. Windows will now run through the folder, removing the read-only attribute on all files and folders.

  5. The folder is now set to Read/Write ensuring that you will be able to save activities and other changes to your game in the sim, Route Editor or Activity Editor.
  6. Finally, you need to set both train.exe and launcher.exe to "Run As Administrator".

    Open Explorer and browse to your MSTS installation. Right-click on "train.exe", left-click on +Compatibility" and check "Run As Administrator". Click "Ok'

  7. Repeat for "launcher.exe".


First Run of MSTS

You've been itching to do this - now's the time to run MSTS for the first time. Accept the EULA, MSTS will load. With this first run, we're going to check two things:

  1. Screen resolution: nowadays most laptops and desktops run widescreen monitors. Depending on how smart your laptop/desktop setup is, you may or may not have a stretched image.

    If you do, click here to read how to optimise your PC to run MSTS with a correct aspect ratio.

  2. Keyboard Response: Simply hit "Start" (bottom right corner). This will load the Kiha. When it loads, test the brake function using the ":" and";" keys. If the brake handle fails to respond to your key presses, read this article for instructions on how to correct this problem.


Extra Memory For MSTS

Ok, we're almost there. Now take a minute or two to read and implement the suggestions contained within the tutorial entitled Increasing memory that can be used by MSTS: it'll make your MSTS operation SO much smoother and you'll have less problems running modern densely-populated routes.


Fix Default Errors

There are several blatant errors in the models as supplied with MSTS. This EXE file will fix the following errors (it will NOT alter friction, braking or physics of these models from the default):

380 Missing sound file "a380-powercruise8.wav"
310 Incorrect AI lighting
Royal Scotsman: Incorrect AI lighting
Dash 9 Error in train brake action
Missing head-out view
GP38-2: Error in notches in throttle
Missing dynamic brake sound
Missing head-out view
Pendennis: Incorrect AI lighting
SD40: Incorrect AI lighting
SD40-2: Shape file bracket error
US2BNSFCAR: Extra bracket error

Click here to download Basic_Fixes_MSTS1_Setup.exe (634 KB (649,989 bytes)).

Run this file, it will find your MSTS installation and upgrade each of the incorrect files.


Important Add-Ons You Should Install

Many freeware downloadable routes require one or more add-ons to make them work properly: in order of popularity, they are:

  • Xtracks - an expanded range of straight, curved, trolley, bridge, tunnel track pieces, as well as switches (turnouts), crossovers and a turntable. This link takes you to the Xtracks page at Steam4me where the latest version is always available.
     
  • Newroads - an expanded range of straight, curved, sealed, unsealed, freeway road pieces, as well as junctions and intersections. This link takes you to the Newroads page at Steam4me where the latest version is always available.
     

In my opinion, Xtracks and Newroads are must downloads.

  • MSTS Bin - MSTSbin is an unofficial patch to the core code in Microsoft Train Simulator; while other add-ons are limited to using what's already there in the basic product MSTSbin actually provides a whole new set of features as well as a number of fixes to some issues in Train Simulator.

    Major improvements include operation of dual cabs and improvements to camera viewpoints, train operations and general robustness. There are a number of other mprovementsin how MSTS handles front coupling, an increase in the number of objects it can cope with at one time (which should help robustness especially on big routes), graphical improvements to the train operations screen and a number of other tweaks.
    The FAQ Page for MSTS-Bin should be your first stop to understand more about this exciting patch to MSTS.

    The download page for MSTS-Bin can be found at https://nekocoaster.github.io/msts-bin/.

  • ScaleRail - a new track profile and textures means that routes using ScaleRail will demonstrate a greater degree of realism. This link takes you to the ScaleRail download page at 3dTrains.com where the latest download is always available.
     
  • UK Finescale - UK FineScale (UKFS) is a comprehensive track system based on UK track specifications. Although designed for UK operation, UKFS can be used for routes in other countries where the gauge is 1.435m and the standard double track separation is 3.41m (or similar). This track system brings parallel tracks much closer to together. The Trainsimfiles.com website is currently off-line, but you can download the UKFS installer by clicking on this link: UKFS_v3_1_6_full.exe.


Conclusion

Your MSTS is now installed and error-free as far as the original installation goes.

Of course, from here you have thousands of locomotives, routes and other add-ons to enhance your simulation experience.

Enjoy.