How To Animate An Electric Loco (And Make Parts Move Using The P Key)
by Paul DeVerter
A Port City Car Co. Project Copyright © 2005
Overview
This is a series of Tutorials on Animation for Microsoft Train Simulator, using Train Simulator Modeler for the 3D modelling. This series of tutorials concerns only Electric Locomotives. It is written with the understanding that you have read and generally understand the prior Tutorials which dealt with
- How To Animate A Scenery Object, and
- How to Animate a Scenery Object that Rotates on an Incline".
MSTS includes a few keys that may be used to animate certain aspects of a locomotive. These include the "P" key which is designed to raise and lower a pantograph, and the "V" key which is designed to make windshield wipers oscillate.
The P key only works on Electric Locomotives, while the V key will work on both Electric and Diesel Locos. Unfortunately, the V key works only with parts that return to the original off position, so far as I can tell, but I am still experimenting. On the other hand, the P key can be used with parts that return to their original position, or which remain extended. Further the parts do not have to look like anything on a pantograph, nor act like anything on a pantograph, and can be made to move linearly or to rotate, with certain constraints.
The major constraint is that the P key only works on an electric locomotive on an electrified route. It toggles action which you may animate, but it also cuts the power on and off the loco. So, in a first position, the loco is dead, in the sense that the throttle will not make it move, or if already moving, will not give any more power and the loco will eventually coast to a stop. In the second position, the P key turns on the power to the loco, and you may control it at will. This happens whether or not you have a pantograph.
In order to invoke the animation of parts with the P key, the parts must be named with certain reserved train names. These names all begin with "Pantograph", such as Pantograph Bottom 1, and Pantograph Middle 2B, etc. Apparently you must have at least 2 Frames of Animation, when you set up your loco, or the animation will not work. You may use considerably more, in order to slow the action down. We will cover these rules in more detail as we build several objects.
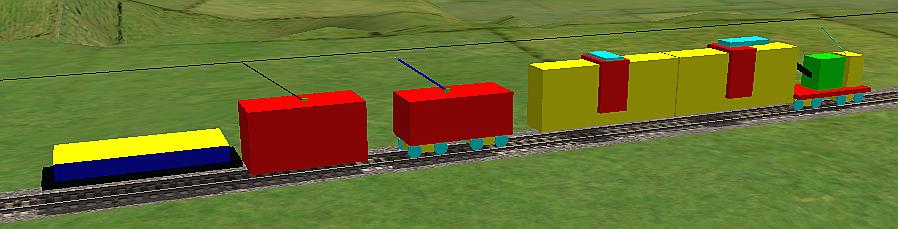
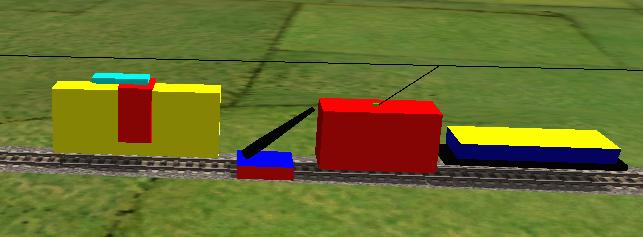
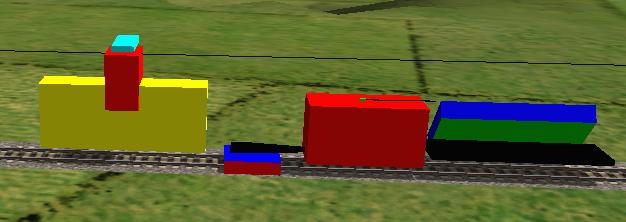
Now what sorts of objects can we animate? Now we are not talking about scenery objects, which are better handled using the techniques of the prior Tutorials. Instead, we are talking about objects that move by themselves over the track, or are pulled, as a part of a train, along the track - thus engines and wagons. But since the P key will only work with Electric Locomotives, the object must, in fact, be an electric Locomotive, even though disguised as something else, such as a side dump gondola, or a rail gun. This is easy enough to do, by ignoring or reducing the power of the object to zero.